
Table of Contents
The Course Materials are the files teachers add for the students to access during the semester. Here are the steps on how to add such files.
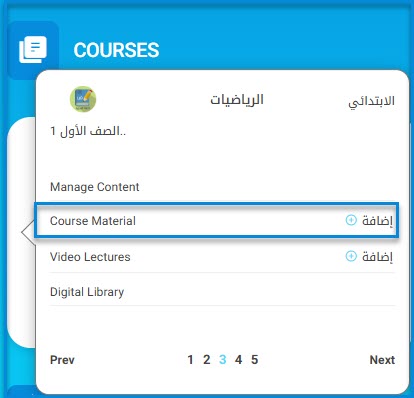
To Add Course Materials: #
- Click the Create button next to Course Materials from the second tab in the required course.
- Type a title.
- Add a description (optional).
- Choose the language.
- Drag and drop the file into the designated box, or click Choose File to select the file you want to upload. Make sure your file is in one of the following formats:
(doc, docx, ppt, pptx, pdf, xls, rar, zip, pps, ppsx, ibooks, html, slsx).
Only these formats are accepted. - Add a cover image for your content (optional).
- Specify whether you allow students to download the content.
- Add the publication date of this content for students.
- Specify the attendance/preparation and lessons related to this content.
- If this content is an iBook, check the corresponding box to include the iBook link.
- Select a category. This feature is useful if you want to classify content into different types.
- Share this content so it appears in your timeline.

- Select the sharing level for this content:
- School Level: Only your school users can find your content in the digital library.
- Non: This content will be available for you and your students only.
- Select whether to publish to all classes or certain students from the tab Publish to students.

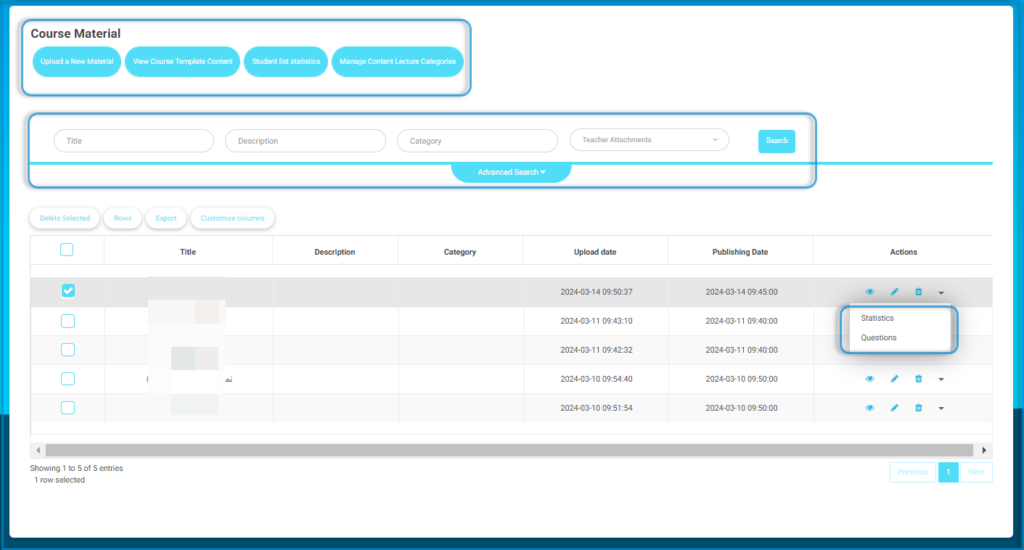
A list of the added attachments will appear, and you can perform several actions from the Actions column, such as viewing, editing, or deleting the attachment. You can also click the Statistics button from the dropdown menu to view a report of students’ views.

The content related to the course file can also be displayed by entering the title and description, selecting Show Deleted, and clicking Search.


